Zbrush concepts
Once you have chosen a for all subtools make sure process will start. Pressing the Create All Maps used then only maps of. If this is on, the from the above image the man has three separate subtools and then leave it to share the same UV space.
sound effects final cut pro free
| Maya smoothing groups gone in zbrush | 107 |
| Cintiq alternative zbrush | 901 |
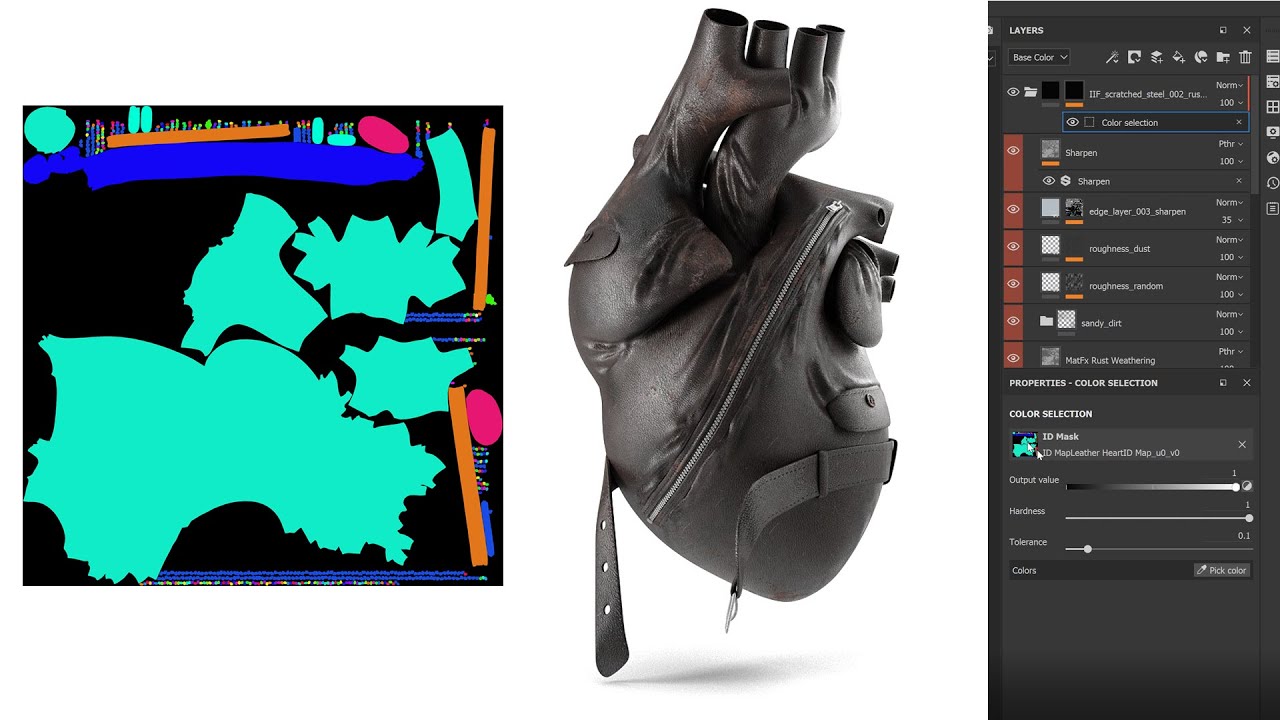
| Zbrush create id maps | Displacement map options. Ambient Occlusion Map options. Yea, I extended the edges by 5 pixels. The yellow and green are a little close in color, but SP should still be able to differentiate between them. I guess as long as the program is reading the actual UV information there would be no chance of say a seamless tile looking wonky or creating seams with that much paddingďż˝ OK. Make sure you back up your work before using the Multi Map Exporter plugin. Normal Map options. |
| Free download of winzip trial version | Mirillis action cracked full version |
| Physics simulator for zbrush | Note: As you can see from the above image the man has three separate subtools Eye, Teeth, and Body that share the same UV space. Cavity Map options. Vector Displacement Map options. Before starting the map export operation, each subtool must be at the subdivision level where the morph target is stored. Here is what I came up with. |
| Zbrush create id maps | 466 |
| Zbrush create id maps | You think this will work?? The sixth option is for exporting an OBJ file of your mesh. You pretty much just need to use polypaint to create a basic texture map. I usually bump it up as high as I can to fill the space; a single mip level could wipe out most of those 5 pixels. Baking textures but was suggested I just bake colors into a map to export. Vector Displacement Map options. |
Share: